ONLINE PREREGISTRATION INSTRUCTIONS
1- Click on the drop-down menu to select the number of children being registered.
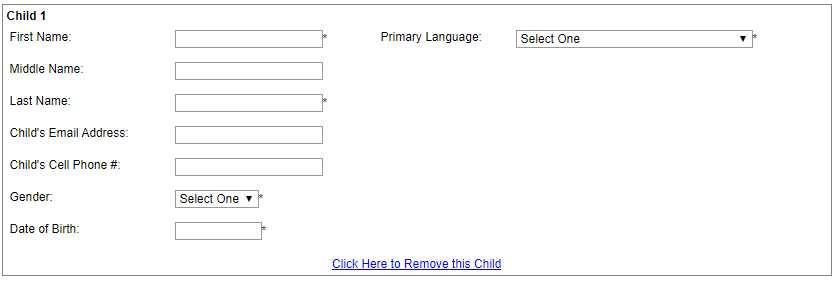
2- A form similar to the one below will come up with child information boxes corresponding to the number you selected in Step 1.
3- Click in the “First Name” field and enter your child’s first name. Either click in the next field or press the tab key on the keyboard.
Note: You must fill in all the items with an * following them. Date of Birth: Must be put in using format: mm/dd/yyyy (example 03/07/1997).
4- Once you have filled in a “Child Box” for each of your children, click on the “Contacts” button under “Next Step” at the top of the screen.
5- Click the drop-down menu to select the total number of people you would like listed as contacts in case the school needs to get in touch with someone. Include parents and guardians as well as all emergency contacts you would like to have listed.
6- Once you have selected the number of contacts, “Contact Boxes” will appear, similar to the “Child Box” you previously filled out. Using the same rules that you used with the “Child Boxes,” fill out each “Contact Box.”
7- When you have filled out a “Contact Box” for each of the contacts you indicated, click on the “Relationships” button at the top of the screen, under “Next Step.”
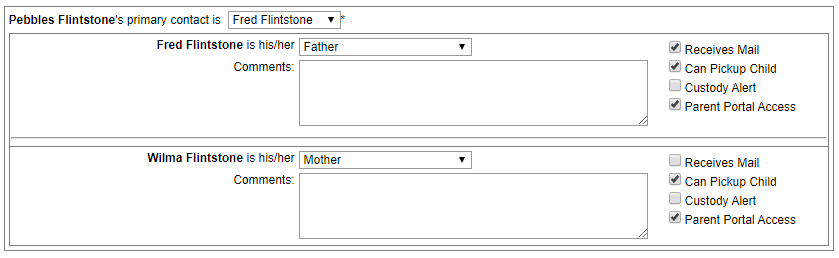
8- Click the drop-down menu to select who is the primary contact. Note: Click the check boxes that apply.
9- When all relationships have been identified and you have clicked on the appropriate check boxes, click on the “Addresses” button at the top of the screen, under “Next Step.”
10- Enter the address and phone number for the first contact.
11- If the address for one contact is the same as another, indicate that by clicking the circle next to that option. You choose which contact has the same address.

12- Once you have filled out the address and/or phone number for each of your contacts, click on the “Additional Info” button under “Next Step.”
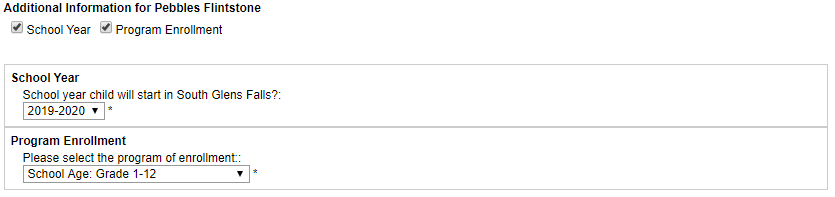
13- Choose the school year and program that you are registering your child for.
14- Once you have the correct school year and program, click on the “Contact Info” button under “Next Step.”
15- Create a password, which along with the session key, will allow you to access the pre-registration information you just inputted to make changes if necessary.
Note: You can only make changes until you have met with the registrar since the session is removed once it is imported into our system. Include your name and either an email address or phone number. If you include an email address and you will receive an email which will list your session key.
16- Click on the “Save” button under “Next Step.”
17- You can click on the “Print” button to print a copy of the information you entered if a printer is available.
18- Click on the “Exit” button to go back to the initial district registration page and print off the other documents necessary for your meeting with the registrar.